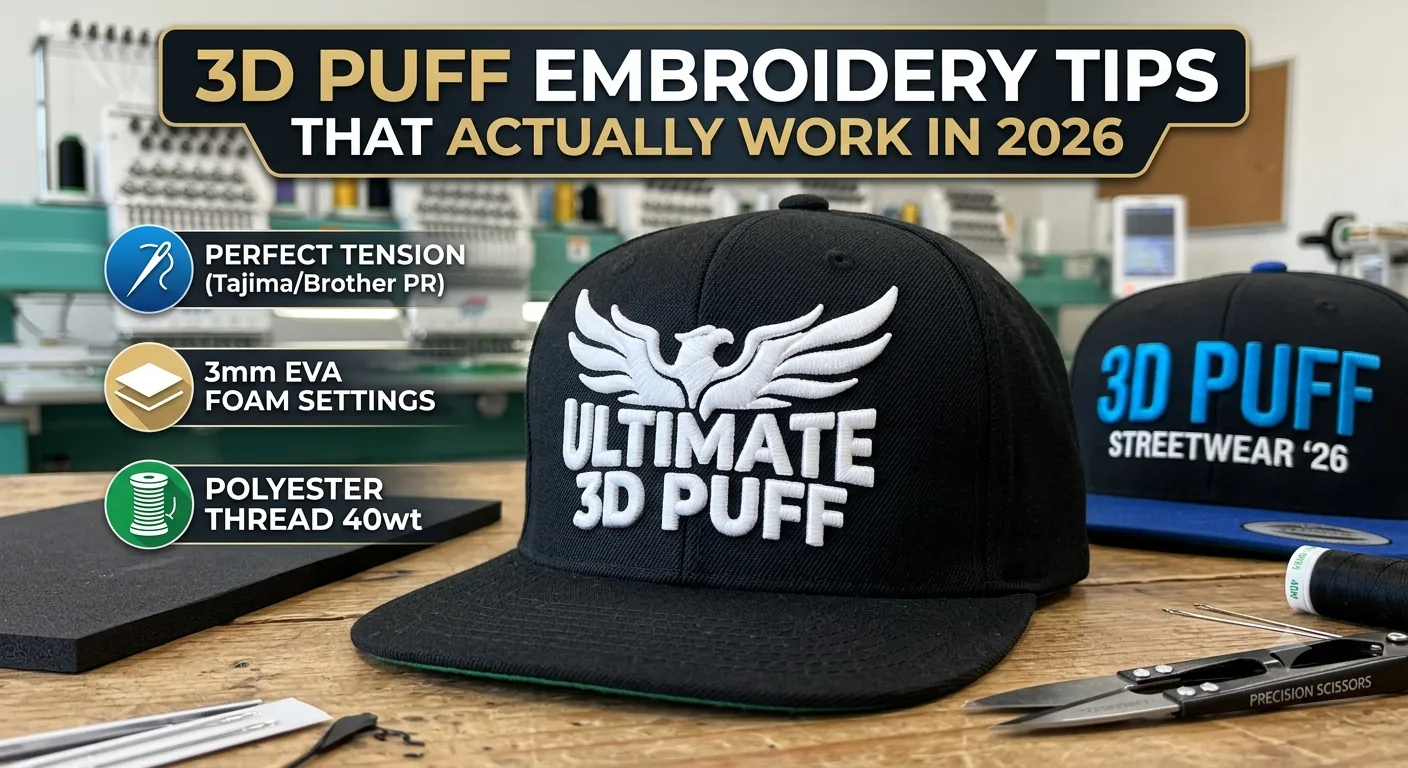
3D Puff Embroidery Tips That Actually Work in 2026
Most embroiderers treat 3D puff as a novelty. A gimmick for snapback caps and streetwear brands that want to look premium. They're wrong — and I'd argue that dismissing it is costing decorators real money on jobs they're turning down or, worse, bodging with flat embroidery when the client expected something with genuine presence.
Done right, 3D puff embroidery is one of the highest-margin techniques on the market in 2026. Done wrong, it's a foam disaster you're picking out of a ruined cap at midnight.
Here's the thing: the difference between a sharp, sculpted logo that looks like it was pressed from metal, and a lumpy mess where the foam's peeking through the satin stitches — that difference lives entirely in the digitizing file and your setup decisions before the machine ever runs.
This guide covers all of it. The mechanics, the materials, the digitizing settings that actually matter, and the honest truth about when 3D puff isn't the right answer. Let's get into it.
What 3D Puff Embroidery Actually Is — and Why the Digitizing Logic Is Completely Different
The concept is simple. You place a layer of foam — typically EVA or polyethylene foam — on top of the fabric, then stitch over it. The stitches compress the foam at the edges, force it to hold shape, and the result is embroidery that sits raised off the surface by several millimetres. It looks sculpted. Dimensional. It catches light differently to flat embroidery, which is why it reads so well on structured caps at a distance.
But here's where most people go wrong before they've even touched the foam.
3D puff is not flat embroidery with foam tucked underneath. Thread isn't ink. You can't just take your standard satin column file, drop foam on top, and expect it to work. The physics are completely different. In flat embroidery, your stitches are working against the fabric and stabiliser. In 3D puff, your stitches are working against foam — a compressible, slightly springy material that pushes back against the needle in a way fabric doesn't. If your density is set the same as your flat work, you'll either pierce the foam repeatedly and shred it, or the stitches will be so loose they'll slide around and the foam will show through gaps.
The foam has to be encapsulated. That's the goal. Every edge of the foam piece needs to be buried under a column of stitches tight enough to hold the foam compressed and invisible, but not so tight that you're causing pull distortion across the whole design.
Equipment-wise, you don't need a specialist machine. I've run 3D puff successfully on Barudan, Brother PR-series, Tajima, and ZSK machines — all common across the industry. What you do need is a machine that's properly tensioned and a needle size that's appropriate for the extra resistance the foam creates. More on that shortly.
The digitizing itself requires a rethink. Pull compensation needs to increase. Underlay changes. Stitch angle becomes critical because it determines how cleanly the foam edge gets sealed. A flat embroidery file will not produce acceptable 3D puff results. I've digitized enough of these to tell you that with certainty. The file is the problem, not your machine.
The Foam, Thread, and Setup Decisions That Determine Whether Your Run Succeeds
Get the materials wrong and no amount of digitizing skill saves you.
Foam Thickness
Foam thickness is the first decision. The three common options are 2mm, 3mm, and 6mm. In my experience running production, 3mm is the workhorse — it gives you a noticeable raised effect without fighting the machine, and it trims cleanly after stitching. The 2mm foam is useful for smaller lettering where a subtler raise is appropriate and you're worried about the stitches losing control of the edge. The 6mm is a statement — brilliant for bold cap logos with letters above 20mm tall, but it requires a longer stitch length and more aggressive density to fully cover it, and it puts more stress on the needle path. Beginners should start with 3mm. Full stop.
Thread Choice
Thread choice matters more than people think. Rayon thread is more supple and drapes slightly better over the foam curve, giving a smooth, consistent sheen. Polyester thread is stronger, more colourfast, and honestly what most shops should be using in 2026 anyway given wash durability expectations from clients. For 3D puff specifically, I'd argue polyester wins — the foam creates enough tension on the stitches that you want thread that won't snap under that stress. 40-weight is standard. I've experimented with 30-weight for very bold puff lettering and it gives excellent coverage, but it limits your ability to do fine detail work in the same design.
Needle Size
Needle size: go up one size from your standard flat work. If you're running 75/11 for regular embroidery, move to 80/12 for puff. The foam is thicker and the needle has more to push through. A finer needle going through 3mm foam repeatedly is a thread-break waiting to happen — and nobody wants thread breaks at 2am during a 200-cap run.
Stabiliser
Stabiliser: you still need it underneath the garment. Don't skip it because you think the foam is doing structural work. It isn't. The stabiliser is managing fabric distortion; the foam is managing height. Use a medium-weight cutaway for structured caps on their internal cap frame, or a medium tear-away for flat items where the foam is doing a simpler job. [LINK: guide to choosing the right stabiliser for embroidery]
For sourcing, Gunold and RNK Distributing both carry quality EVA puff foam in multiple thicknesses and are widely available to commercial embroiderers. Avoid cheap craft-store foam — it compresses unevenly and you'll see the difference in your finished work.
Digitizing Settings, Foam Placement, and Running Order — Where the Technique Either Wins or Falls Apart
Here's the thing: the digitizing is where 3D puff is won or lost, and most guides skip the specifics. I won't.
Density
Density: increase it. For flat satin work on a normal logo, I'd typically set density around 0.40mm to 0.45mm. For 3D puff, I'm working at 0.35mm to 0.38mm — tighter stitches to fully encapsulate the foam edge. Go too tight and you create pull distortion and risk cutting through the foam. Find your machine's sweet spot through test stitching on your specific foam thickness before committing to a client run. Test stitch first. Always.
Underlay
Underlay: this changes significantly. You don't want edge-walk underlay running under the foam — it serves no purpose there and creates registration problems. What you want is a single edge-walk underlay along the perimeter of each element, placed after the foam is secured but before the main satin column runs. Some digitizing software — Wilcom Embroidery Studio and Hatch by Wilcom are the two I'd point you toward — allow you to specify underlay type per element, which is essential for complex puff designs with multiple components. [LINK: Wilcom Hatch embroidery software overview]
Pull Compensation
Pull compensation: increase by 10–15% compared to your flat work settings. The foam creates lateral resistance as the satin stitches try to wrap over it, which can cause the edges to appear narrower than designed. Compensating for this in the file prevents thin, under-covered edges where the foam shows.
Stitch Angle
Stitch angle: for letters and simple shapes, keep your satin angle running perpendicular to the longest axis of each element. This maximises foam coverage and gives the cleanest edge seal. Diagonal or parallel-to-edge stitching on puff work tends to produce an uneven top surface that catches light badly.
Foam Placement
Foam placement: cut your foam slightly smaller than the finished design element — approximately 0.5mm to 1mm inside the perimeter. This gives the edge stitches somewhere to compress the foam and fold cleanly without the foam edge sitting proud of the stitch boundary. Hand-place the foam for small runs; use a light temporary spray adhesive to hold it for longer runs where consistency matters.
Running Order
Running order: stitch all flat elements first. Then place foam and run your puff elements. Never try to interleave them — it creates registration nightmares and forces unnecessary hoop re-insertions. The Embrilliance Essentials platform is worth knowing for run-order editing if you're working with purchased designs that need restructuring. [LINK: embroidery run order and sequencing explained]
Trim excess foam immediately after the puff element finishes — use small, sharp embroidery scissors, not curved tip. Pull the foam away from the design at a low angle and it separates cleanly at the stitch boundary. Rushing this step or leaving foam trim for after the full design finishes makes the job harder and the result messier.
The Failures I See Most Often — and the Honest Truth About When to Skip Puff Entirely
Common Troubleshooting Issues
-
Foam showing through the stitches: That's the number one complaint, and it always comes back to density being too loose or foam being cut too large for the design element. Tighten your density and recut the foam.
-
Collapsed letters after the first wash: This happens when the stitches didn't fully encapsulate the foam edges — the foam slips laterally inside the stitch coverage and the raised effect gradually flattens. The fix is in the digitizing: your edge stitches need to grip the foam, not just sit on top of it.
-
Scorched or melted foam during stitching: You'll sometimes see this on slower machines where the needle is dwelling in the foam at high temperature. The fix is running at the appropriate speed — don't drop below 600 SPM on puff work, and make sure your needle cooling is adequate. A slightly coarser needle (80/12 or 90/14) also reduces friction heat.
-
Poor registration on small lettering: Here's where I'll be blunt: 3D puff below 10mm letter height is a bad idea. I've tried it. The stitch columns are too narrow to encapsulate foam cleanly, the edge definition definition falls apart, and the "3D" effect at that scale looks like a manufacturing defect, not a design feature. If it won't stitch clean at that scale, redesign it. Some designs just shouldn't be embroidered in puff — screen print it, or use standard flat satin lettering and save yourself the ripped-out stitches.
When 3D Puff Is Genuinely the Right Choice
-
Bold cap logos with lettering above 15mm — this is the technique's home turf
-
Streetwear and workwear brands where tactile texture is a deliberate design choice
-
Single-colour or two-colour designs with clean geometric shapes
-
Clients who have specifically seen puff work and requested it by name — they know what they want
When to Walk Away from Puff
-
Script fonts with thin connecting strokes under 3mm wide
-
Gradients, heavy shading, or photo-realistic designs — thread isn't ink and foam makes this worse
-
Lightweight knit fabrics like jersey or fleece where the foam creates visible stress on the fabric
-
Text-heavy logos where a 6mm letter is sitting next to a 20mm letter — the height differential looks wrong
I've turned down puff jobs and suggested flat embroidery or screen printing. Every time, the client respected the honesty and came back for something I could actually execute well.
The Bottom Line on 3D Puff Embroidery in 2026
If you're taking on cap work or streetwear decoration and you're not offering 3D puff, you're leaving margin on the table. It commands a genuine price premium — rightfully, because the technique takes skill and the setup time is real. But the skill is learnable, and the setup logic is consistent once you've nailed your density and pull compensation settings for your specific foam thickness. Start with 3mm foam, polyester thread, an 80/12 needle, and a bold, simple design above 15mm. Test stitch before you commit to a production run. Fix the file before you blame the machine. That's the whole game.
Frequently Asked Questions
How durable is 3D puff embroidery — will the foam flatten over time?
Done correctly, 3D puff embroidery holds its shape through industrial washing. The key word is "correctly" — the foam needs to be fully encapsulated by the stitches, not just stitched over loosely. Polyester thread outperforms rayon here because it resists heat and tension during wash cycles better. In my experience, well-digitized puff work on a structured cap retains most of its height through dozens of washes. Poorly digitized work — where the foam edges aren't properly sealed — will start to collapse after five to ten washes as the foam migrates inside the stitch coverage. If a client is reporting early flattening, the diagnosis is almost always in the digitizing file, not the foam grade.
What's the minimum letter size for 3D puff embroidery?
I'd put the practical minimum at 10mm cap height, and even that requires careful digitizing and 2mm foam rather than 3mm. Realistically, 15mm and above is where 3D puff looks intentional rather than accidental. Below 10mm, the stitch columns are simply too narrow to encapsulate the foam cleanly on both sides, and the edge definition suffers. For small text — initials on a chest logo, fine print below a main design — stick with flat satin embroidery. It'll look sharper and you won't be fighting the foam physics.
Is 3D puff embroidery compatible with all embroidery machines?
Any commercial multi-needle machine handles 3D puff — Brother PR-series, Tajima, Barudan, ZSK, Bernina commercial units. The technique doesn't require specialist equipment. What it does require is a properly tensioned machine with appropriate needle size (80/12 minimum for 3mm foam) and a digitizing file built specifically for puff, not adapted from a flat design. Home single-needle machines can technically run puff work, but the lack of automatic foam-trim stops and the lower speed ceiling make production runs impractical. For occasional samples on a domestic machine, it's doable. For commercial runs of 50+ pieces, you want a multi-needle.
How much more should I charge for 3D puff compared to standard embroidery?
The honest answer is: more than you think. The setup time is longer, the foam is an additional material cost, the digitizing requires specialist knowledge (either your time or a paid service), and the reject rate during setup is higher than flat embroidery. In recent years, decorators running commercial puff work have charged a per-piece premium ranging from 20% to 50% above equivalent flat embroidery rates, depending on design complexity and run size. That premium is justified. Clients who want the look are generally willing to pay for it — and if they're not, flat embroidery is a perfectly respectable alternative to offer them.
Can I use a standard embroidery file format (DST, PES) for 3D puff, or do I need a special format?
The file format itself — DST, PES, JEF, VP3, EXP — doesn't change for 3D puff. The machine file format carries stitch coordinates and colour changes, and the foam placement is a physical step in your setup process, not a software command. What must change is the digitizing within that file: density, pull compensation, underlay type, and running order all need to be set for puff work. You could save a poorly digitized puff file as DST just as easily as a well-digitized one. The format is the container. The digitizing is the product. Get the digitizing right and the format you already use will work fine.
OurDigitizer Editorial Team · Editorial Team
Written and reviewed by the OurDigitizer editorial team — embroidery digitizers with 12+ years of combined manual digitizing experience across DST, PES, and all major embroidery machine formats.