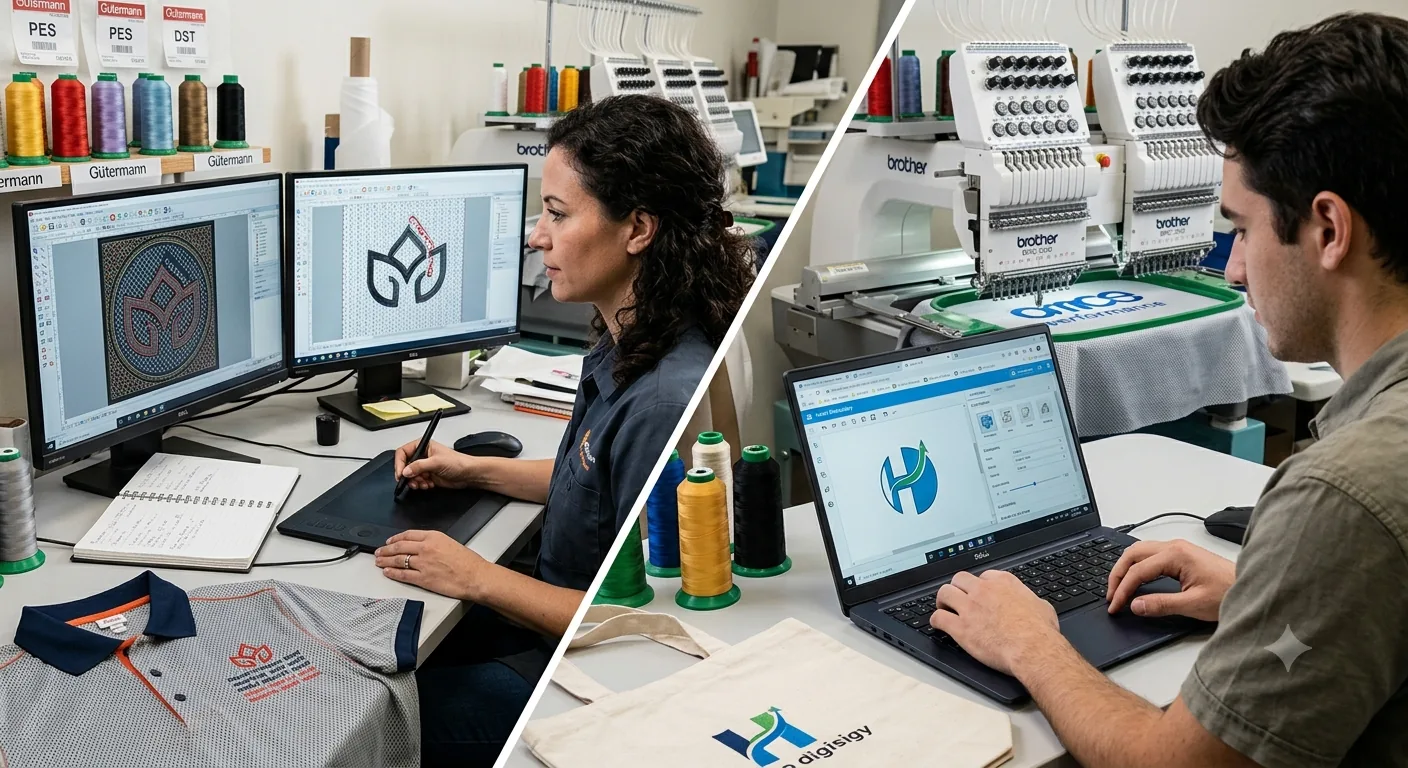
Auto Digitizing vs Manual Digitizing: The Honest Breakdown for Real Embroidery Results
Your client sends over a PNG of their logo, you run it through auto digitizing software, and forty minutes into a 200-piece polo run the thread breaks for the third time. The satin columns on the letters are fighting the fabric. The underlay is wrong. The pull compensation is zero — software default, obviously. And now you're ripping out 60 stitches at 2am while questioning every decision that led to this moment.
That file was the problem. Not your machine.
The Great Embroidery Debate
And here's the thing: the auto vs manual digitizing debate is exactly where most embroiderers stop thinking carefully. Half the internet tells you auto digitizing is fast enough for everything. The other half insists only hand-placed stitches are legitimate. Both camps are wrong, and following either one will cost you thread, time, and eventually clients.
What’s Really at Stake?
Neither method wins universally. Choosing wrong costs you more than money — it costs you that order, that reputation, that account. Let me break down what actually separates these two approaches, where each one earns its place, and how working production embroiderers are genuinely using both in July 2026.
What Auto Digitizing Actually Does — And Where the File Falls Apart
Auto digitizing software reads an image file — usually a PNG, JPEG, or vector — and uses AI-driven path detection to separate colours, map stitch regions, and generate a machine-readable embroidery file. Modern platforms like Hatch Embroidery's AutoDigitize module, Wilcom's TrueSizer, or browser-based tools like Embroider.com do this in anywhere from thirty seconds to five minutes depending on complexity.
The Genuine Strengths of Automation
The genuine strengths are real. Speed is the obvious one. For a hobbyist running a single Brother PE800 who needs a simple two-colour monogram on a tote bag, auto digitizing is fast, cheap — often covered by a software subscription — and gets the job done. Batch processing is another legitimate win: some platforms can process twenty files overnight with consistent results for basic fill designs. For beginners, there's also no learning curve on the software side. You upload, you download, you stitch.
The Blind Spot: Software Doesn't Understand Fabric
But here's the thing: software doesn't understand fabric. That's not a metaphor. It's a literal technical limitation.
Auto digitizing has no concept of how a stretch jersey behaves differently from a structured cap front panel. It won't add stabilising underlay beneath a dense satin column crossing the grain of a thin piqué. It assigns stitch direction based on region boundaries — not based on what actually looks right as the design curves through 90 degrees. I've seen auto-generated files put a horizontal fill stitch across a leaf shape that any competent digitizer would run at 45 degrees to give it dimension and structural integrity.
The Critical Failure Points
Small Text Collapse
Small text is where auto digitizing genuinely falls over. Below 6mm cap height — which is roughly 0.24 inches — most auto tools collapse letterforms, merge counters, and produce a filled blob where an "e" should be. The software can't decide between a satin column letter and a fill letter at that size, so it guesses badly. I've digitized enough small text to tell you: anything under 4.5mm cap height needs to be manually placed, stitch by stitch, or you're wasting thread.
Photographic Designs and Shading
Photographic designs — realistic faces, shaded artwork, portrait-style images — sit in a strange middle ground. Auto digitizing will technically produce a file. Whether that file produces anything resembling the original on an actual piece of fabric is another matter entirely. The colour separation logic works reasonably well for flat graphic logos with hard edges. It does not handle gradient-style shading with any real accuracy.
The auto digitizing vs manual digitizing comparison gets genuinely interesting once you move past the obvious cases.
What Manual Digitizing Delivers — And When It's Genuinely Overkill
A skilled manual digitizer controls things that no algorithm currently matches. Stitch angle relative to design curve — not just region boundary. Pull compensation dialled to the specific fabric you're running, not a software default of 0.4mm that's fine for stable twill and wrong for stretchy athletic mesh. Custom underlay layering: a run stitch underlay for stability, a zigzag underlay for loft, a contour underlay for satin columns, all in specific sequence.
Handling Advanced Materials and Multi-Layer Textures
These aren't cosmetic differences. On a structured front-panel cap with foam underneath for 3D puff, your density has to be calibrated against both the foam thickness and the cap's buckram backing — two materials with completely different compression characteristics. Auto software applies one density value. A manual digitizer applies different densities across different zones of the same design.
The Performance Wear Challenge
Performance wear is where the gap widens most visibly. In my experience running production on athletic gear, you're dealing with stretch fabrics that pull in the warp direction under movement. If your fill stitches run perpendicular to that pull and your pull compensation isn't adjusted accordingly, the design distorts during wear — not during production. The client gets the shirts, wears them to a game, and the logo looks like it's been through a tumble dryer. Manual digitizing handles that. Auto digitizing doesn't know it's a problem.
Mastering Fine Details and Trims
Fine lettering under 13mm — that's 0.5 inches — on finished patches or performance polos demands manual control. You're making individual decisions about which strokes get satin columns versus running stitches, where to place a tie-in and tie-off to avoid a visible jump stitch, and how to sequence the path so the machine doesn't travel across open fabric.
When Manual Precision Becomes Wasteful
But I'll be honest: for a 50,000-stitch all-over fill design on a stable canvas tote with basic geometric shapes, manual digitizing is overkill. You'll spend three hours doing what the software does in four minutes, and the result — on that specific project — won't look meaningfully different. The cost premium isn't justified when the design genuinely doesn't demand that level of control.
This is where the auto digitizing vs manual digitizing advice most resources get wrong. They frame it as a quality argument. It's actually a requirements argument.
The Honest Side-by-Side: Cost, Speed, Quality Ceiling, and Right Use Cases
Let's put real numbers on this.
| Dimension | Auto Digitizing | Manual Digitizing |
| Cost per design | £0–£25 via software sub | £20–£120+ from a professional |
| Turnaround time | Seconds to 5 minutes | 1–6 hours depending on complexity |
| Quality ceiling | Acceptable to good on simple designs | Professional to broadcast-grade on any design |
| Best fabric types | Stable wovens, canvas, denim | Stretch fabrics, caps, performance wear, specialty materials |
| Small text accuracy | Poor below 6mm cap height | Reliable down to 3.5mm with the right approach |
| Underlay control | Software default only | Fully custom per zone and fabric |
| Best use cases | Hobbyist patches, simple monograms, bulk basic fills | Corporate uniforms, athletic gear, structured caps, retail fashion |
| Risk level | Higher on complex or detailed work | Low when specification is clear |
The Math Behind Production Math
The cost difference sounds dramatic until you account for what a bad file costs in production. Three thread breaks on a 200-piece run isn't just annoying — it's rework time, wasted thread, and possibly a ruined garment. At £8–12 per blank, one damaged polo on a bad auto-digitized file can wipe out the cost saving immediately.
Quick Decision Framework
Use Auto Digitizing When:
Your design is two to four colours, has no text below 10mm, sits on stable woven fabric, and is for personal or low-volume use where "good enough" genuinely is good enough.
Use Manual Digitizing When:
The design includes fine text, runs on stretch or performance fabric, goes on a structured cap, is destined for retail or broadcast visibility, or will be stitched at volume where file errors compound into serious production loss.
Genuinely Assess Production Volume
A digitizing fee of £80 spread across 500 pieces is 16p per unit. The same fee on a five-piece run is £16 per piece — which changes the maths significantly.
The Hybrid Workflow That Production Embroiderers Actually Use in 2026
Here's what nobody writes about publicly: most working professionals don't choose between auto and manual. They use both, in sequence.
The workflow looks like this. Auto digitize the design to get a working draft — colour regions mapped, basic stitch paths laid out, approximate stitch count generated. Then open that file in proper digitizing software and systematically fix the things the auto tool got wrong.
The 3-Step Hybrid Checklist
1. Rebuild the Underlay
In Wilcom Embroidery Studio, you can open an auto-generated file and immediately see the underlay settings. That's your first edit. Replace the software's default underlay with a layered approach: contour underlay for satin columns, edge walk plus zigzag for large fill areas. This alone resolves probably 60% of the production problems I see from auto-generated files.
2. Calibrate Pull Compensation
Check the fabric you're running. Stable twill might need 0.4–0.5mm. Stretch piqué needs 0.6–0.8mm minimum on fills. Adjust per object, not globally.
3. Optimize Travel Stitches and Paths
Auto software generates logical but not optimal paths. It'll jump across open fabric because it's prioritising colour sequence efficiency. Manually reroute those jumps so they travel under previously stitched areas wherever possible. Fewer visible trims, cleaner back of garment.
Software Toolkit for the Modern Hybrid Setup
Hatch Embroidery (currently on version 3.3 in 2026) has a good auto-digitize module that produces editable objects — so you're not fighting a locked file. Ink/Stitch, the free Inkscape extension, gives you manual control over every stitch parameter and is genuinely capable in experienced hands, though the learning curve is steeper than commercial tools.
Building Your Editing Skills Fast
For hobbyists wanting to build these editing skills: the Wilcom University courses — available through Wilcom's official learning portal — cover underlay and pull compensation in structured lessons that take roughly four to six hours total. That investment gets you editing skills within three months of regular practice. Not digitizing-from-scratch skills, but file-fixing skills — which is what the hybrid workflow actually demands.
The mindset shift is this: stop asking which method is better. Start asking what this specific project actually needs. A £12 auto-digitized file with 45 minutes of manual editing beats both a raw auto file and an unnecessarily expensive custom file on the right job.
Test stitch first. Always.
The Verdict: Which Method Should You Actually Choose?
If your work involves corporate uniforms, structured caps, performance wear, or anything going on retail shelving — commission manual digitizing. The quality ceiling of auto tools simply doesn't reach what those projects demand, and the rework cost of a bad file at volume will dwarf any upfront fee you saved.
If you're a hobbyist running simple designs on stable fabric in small quantities, auto digitizing with some basic editing knowledge gets you there. Save yourself the ripped-out stitches by learning the underlay and pull compensation edits — those two fixes resolve most auto-file failures.
The real competitive edge in 2026 isn't picking a side. It's knowing which tool earns its place on which project and building enough editing literacy to bridge the gap.
Frequently Asked Questions
What software is best for auto digitizing in 2026?
For commercial quality, Hatch Embroidery's AutoDigitize function produces editable objects you can refine in the same environment — which is why I recommend it over browser-only tools. Wilcom Embroidery Studio remains the industry standard for manual digitizing and hybrid workflows, particularly for professional shops running DST, PES, and VP3 file formats. If budget is a hard constraint, Ink/Stitch as an Inkscape extension is genuinely capable for manual work, though it has no meaningful auto digitize function. For pure auto-only use on simple designs, SewArt is a low-cost option that works fine on basic fills and shapes. The honest answer is that the software matters less than understanding what to fix after the auto run completes.
Does auto digitizing produce good results on embroidered caps?
Rarely without editing. Caps are the hardest embroidery surface — curved, structured, with a seam across the front panel that creates a stitching obstacle. Auto software doesn't account for cap rotation direction (you stitch caps front-to-back, not top-to-bottom like flat goods), and it has no awareness of the foam or buckram beneath the fabric. I've digitized enough cap designs to tell you: even simple logos need manual underlay adjustment and density calibration for cap embroidery. Auto digitizing as a starting draft, edited manually, is workable. Raw auto files on caps are a gamble I wouldn't take on anything over a 12-piece run.
Is auto digitizing good enough if I'm selling embroidery on Etsy?
Depends entirely on what you're selling. Simple monograms on stable linen or canvas? Auto digitizing handles it. Detailed logo work, small lettering, anything on stretchy blanks or performance fabric? You'll get complaints and returns. The Etsy embroidery market in 2026 is competitive enough that production quality matters for reviews and repeat business. My recommendation for Etsy sellers: run auto digitizing, do a test stitch on the actual blank you're selling, and don't list until the test stitch is genuinely clean. If it's not clean, either edit the file or don't offer that design on that fabric.
How long does manual digitizing take for a typical logo?
A simple two-to-three colour logo with no fine text — think a basic shield shape with company name above 10mm — takes an experienced digitizer roughly 45 minutes to an hour. A complex logo with fine lettering, multiple fill areas, and gradient-style shading elements could take three to five hours. First-time digitizers should multiply those estimates by three to four until muscle memory develops. File complexity matters more than design size — a 3,000-stitch design with fine details takes longer than a 12,000-stitch simple all-over fill. If you're outsourcing, a professional digitizer in the UK or EU will typically return a file within 12–48 hours depending on complexity and their queue.
When should I outsource digitizing versus doing it myself?
Outsource when the stakes are high and your skill level doesn't match the project requirements. A 500-piece corporate uniform run on a design you've never stitched before — outsource it. The £60–£100 digitizing fee is cheap insurance against a bad file at scale. DIY when you're learning, when the volume is low, and when you can afford a test stitch without real consequences. The hybrid approach I described — auto digitize then manually edit — is actually a realistic in-between for embroiderers with six or more months of editing experience. The skills that matter most for DIY are underlay adjustment and pull compensation — learn those two things before you attempt anything else, and your auto-generated files will improve immediately.
OurDigitizer Editorial Team · Editorial Team
Written and reviewed by the OurDigitizer editorial team — embroidery digitizers with 12+ years of combined manual digitizing experience across DST, PES, and all major embroidery machine formats.