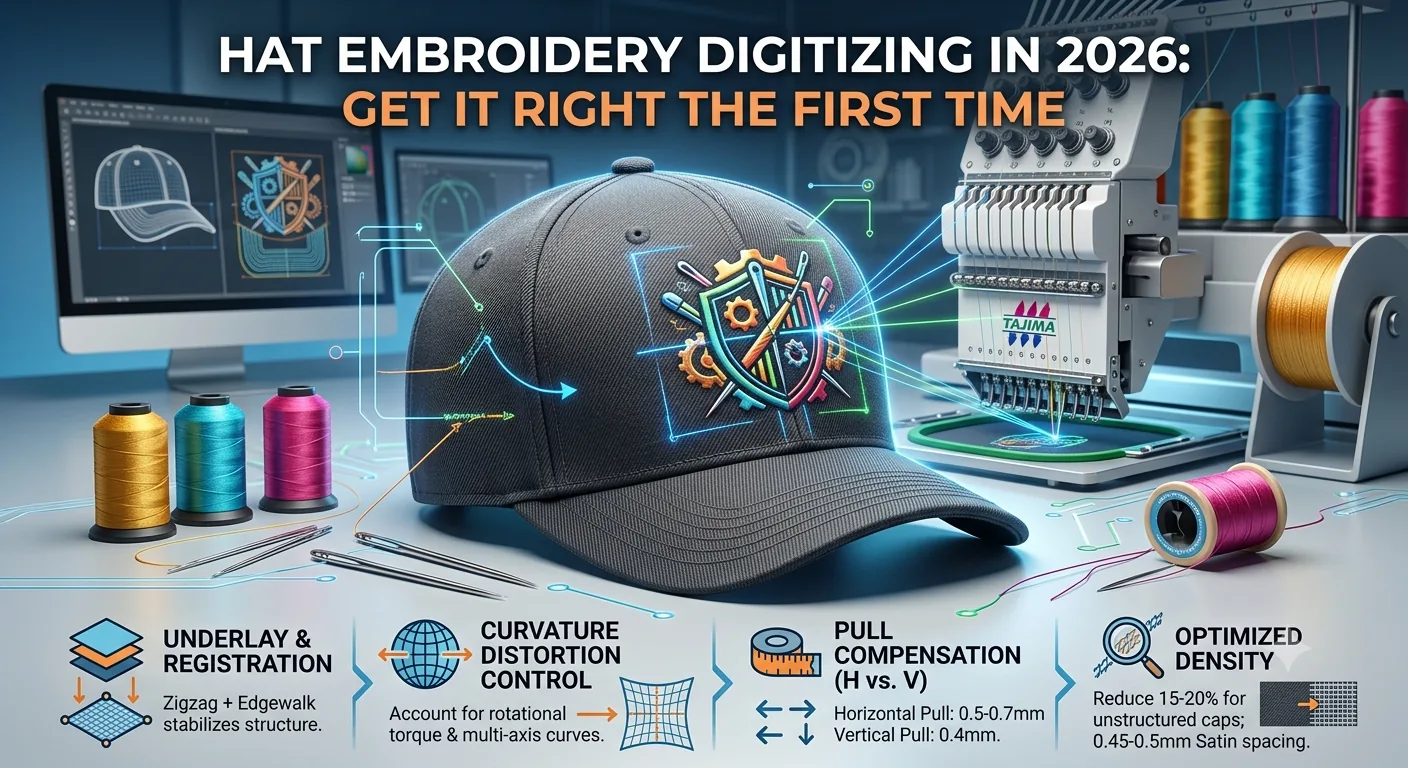
Hat Embroidery Digitizing in 2026: Get It Right the First Time
Most embroiderers learn hat digitizing the hard way — a ruined batch of 200 caps, a client on the phone, and a sinking feeling that the problem isn't the machine. It never is. The file is the problem, not your machine. And on a curved cap surface, even a technically clean flat-file will fail in ways that take you completely by surprise the first time you see it.
Here's the thing: every hat digitizing tutorial I've ever read treats the cap as a minor footnote. "Use a cap frame, reduce your density a little, you're done." That's not hat digitizing advice. That's how you get puckered crowns, registration drift across the front panel, and column stitches that fan out like a peacock because nobody accounted for the convex surface pulling every element outward as it stitches.
I've digitized enough of these to tell you that a curved cap surface fundamentally breaks flat-file logic. Every single decision — underlay type, stitch direction, density, sequencing, pull compensation — has to be reconsidered from scratch. Not tweaked. Reconsidered.
That's what this guide covers. The hard parts everyone else skips.
Why a Cap Crown Is Not a Flat Garment and Your Digitizing Mindset Needs to Reflect That
Start with the surface itself. A structured six-panel cap has a front panel that curves in two directions simultaneously — horizontally across the brow and vertically up the crown. The fabric isn't moving in a flat plane when the needle comes down. It's sitting on a convex curve, held in a cap frame that applies rotational torque as the hoop advances, and that torque compounds with every stitch you add.
When you digitize for a flat garment — a polo, a jacket back, a tote bag — you're working with a surface that stays approximately flat under the needle. The fabric might shift slightly. Pull compensation handles that. But on a cap, you've got curvature distortion stacked on top of fabric compression stacked on top of cap frame mechanics. Three separate sources of registration error, and your flat-file settings address exactly none of them.
Here's what happens in practice. You digitize a 3-inch wide logo for a cap front. It looks immaculate on screen. You load it, cap-frame the first hat, and run it. The left edge registers beautifully. By the time the machine reaches the right side of the design, it's drifted 2–3mm upward. That's not a tension problem. That's the curved surface rotating the cap frame incrementally as the design stitches out, dragging the fabric with it.
Structured versus unstructured caps make this significantly worse or better depending on your design. A structured cap — buckram-backed front panel, usually a snap or Velcro closure — holds its shape under the needle more reliably. The stabilised panel resists fabric shift better than an unstructured cap, which can compress, pucker, and distort under even moderate stitch density. In my experience running production on both, unstructured caps need density dropped by roughly 15–20% compared to equivalent designs on structured panels, and they need more aggressive underlay to give the stitches something stable to grab.
And then there's the seam. If your design crosses the crown seam — that vertical join between cap panels — you're asking stitches to bridge two separate fabric surfaces at different tensions. Without specific stitch direction management at that seam, you'll get a visible ridge or a skip. I've seen it happen on files that were otherwise excellent. One seam crossing, handled wrong, ruins the whole front panel.
Density, underlay, direction. You can't borrow these settings from your flat-garment files and expect anything good to come out. Thread isn't ink.
The Digitizing Settings That Actually Change Everything on a Cap
Pull compensation first. On a flat polo, you're typically running pull compensation between 0.3mm and 0.5mm for standard woven fabric. On a cap front — especially a structured cap with tightly woven twill — I run between 0.4mm and 0.7mm, depending on stitch direction relative to the curve. Stitches running horizontally across the curved surface pull inward more aggressively than vertical stitches because the curve is working against them. Horizontal elements need the higher end of that range. Vertical elements, running up the crown, can sit closer to 0.4mm.
Density on cap fabric needs to come down from what you'd use on a flat surface. Standard satin column on a polo might run at 0.4mm stitch spacing. On a cap, I push that to 0.45–0.5mm. Doesn't sound like much. But on a 6,800-stitch design on a twill cap, the difference between those two settings is the difference between clean registration and puckered fabric around your fill areas. Cap fabric — particularly the polyester-cotton twills most popular with promo caps in 2026 — has very little stretch forgiveness. Dense stitching compresses the fabric and has nowhere to go except up, which means puckering.
Column widths matter more on caps than anywhere else. Keep satin columns under 8mm wherever possible. When a design element needs to be wider than that — a thick letter stroke, a bold border — split it into two offset columns or convert it to a fill with a satin edge. I've seen beautiful logo files buckle completely on a cap because someone used 12mm satin columns that work fine on a flat jacket but ripple and fold on a curved panel.
Underlay strategy changes completely on a cap. On flat garments, a centre-walk underlay is often sufficient for light fills. On a structured cap, I use edge-walk underlay plus a zigzag underlay layer — sometimes called a double underlay — before any significant fill or satin element. The zigzag layer stabilises the cap fabric in two directions. Without it, your top stitches are dragging against cap fabric with nothing anchoring them, and you'll see the whole element creep and distort as it fills.
Sequencing is the underrated one. Design your stitch sequence to work from the centre of the cap outward. Start with your most critical element — usually the primary letterform or icon — and radiate out from there. This limits the amount of cap frame advance that happens before your anchor elements are down. Every mm of frame advance during stitching is a potential registration error. Sequence it properly and you're managing that error proactively rather than hoping the file survives it.
If it won't stitch clean at 4mm, redesign it. That rule applies everywhere. On caps, I'd say: if it won't stitch clean in the cap-specific settings above, don't assume more density will fix it. It won't.
Digitizing Software and Outsourcing: What's Actually Worth Your Time in 2026
The main tools I see embroiderers using for in-house hat digitizing in 2026 are Wilcom EmbroideryStudio e4.5, Hatch Embroidery (now on version 3), and — at the budget end — Ink/Stitch, the open-source Inkscape extension. Wilcom remains the industry benchmark. Its cap-specific tools, including the cap visualiser and curved surface simulation, are genuinely useful for catching registration issues before you run a stitch. Hatch 3 is solid for small shops — the interface is more approachable and the digitizing quality is good if you know what you're doing. Ink/Stitch will get the job done for basic cap designs, but it has no cap-specific toolset, so you're manually compensating for everything the paid software handles automatically.
Auto-digitizing on cap designs? Don't. I've run auto-digitized files through Wilcom's engine on flat garments and got acceptable results on simple logos. On a cap, auto-digitizing produces files that look correct on screen and fail completely in the frame. The algorithm doesn't understand curvature. It produces flat-file logic on a curved-surface problem. Save yourself the ripped-out stitches and digitize it manually.
If you're outsourcing — which is the right call for most small shops running occasional hat orders — ask these specific questions before you send the file: Do you have a cap frame and do you test stitch on one, or do you send flat simulation samples? What pull compensation values do you use for structured cap twill? Can you show me a stitchout on a cap, not a flat hoop? Any digitizer who can't answer those questions specifically isn't a hat specialist. They're a flat-file digitizer taking your job.
File format for cap work: DST is the most universally accepted for commercial multi-head machines. PES for Brother machines. VP3 for Pfaff and Husqvarna. If you're running a Tajima, DST is your format. Always request the native format plus DST as a backup, and always ask for the original editable file — you'll need it when the client's brand changes six months later.
Test stitch first. Always. On an actual cap, in an actual cap frame, before you commit to a production run. A flat stitchout tells you almost nothing useful about how a design will behave on a curved surface.
Five Hat Digitizing Mistakes That Wreck Production Runs (and the Fix for Each)
1. Designs that exceed safe cap stitching zones.
The standard safe stitching zone for most cap fronts is approximately 4 inches wide by 2.5 inches tall — roughly 100mm × 65mm. I regularly see files come in at 120mm wide. The side panels of a cap curve away sharply beyond that zone, and the cap frame can't stabilise fabric past that point. The fix: check your digitizing brief for cap size specs before you start, and resize the design down before digitizing. Not after. Scaling a finished file down changes stitch counts, not stitch spacing — you'll end up with dense, compressed stitching that puckers.
2. Insufficient underlay on structured panels.
Buckram-backed structured caps feel stable in your hand. They're not stable under a needle at 800 stitches per minute. Without edge-walk plus zigzag underlay, even a structured panel will drift. The fix is the double underlay approach described above. Build it in at the digitizing stage — you can't add it meaningfully after the fact without re-digitizing the element.
3. Wrong stitch direction across the crown seam.
Stitches that run perpendicular to the crown seam will bridge the join and pull the seam open, creating a ridge. The fix: run stitch direction parallel to the seam at the crossing point. Split elements at the seam if needed and re-join them in sequence. It adds steps but it's the only way to cross that seam cleanly.
4. Ignoring cap frame limitations.
Different cap frames — the Tajima TCMX has a different throat depth and rotation range to a SWF CA-series frame — create different mechanical constraints on how far across the panel you can reliably stitch. In my experience running production, you need to know your specific machine's cap frame specs before you finalise any hat design. Don't assume one frame's limits apply universally.
5. Skipping the test stitchout.
This one costs people real money. A £40 cap run on 200 units with an untested file is a £40 × 200 = £8,000 problem waiting to happen. Test on one cap. Check registration at the edges, check the crown seam crossing, check that column stitches aren't fanning. Fix it. Then run production.
The Bottom Line on Hat Embroidery Digitizing
If you're handling hat embroidery digitizing — whether in-house or outsourcing — the single most important shift is this: stop thinking about caps as a variation of flat garment work. They're not. The curved surface, the cap frame mechanics, and the fabric compression under structured twill panels create a completely separate set of constraints, and every file that ignores those constraints will fail on the frame. Use cap-specific underlay, dial in your pull compensation for the direction of curvature, keep your designs within the 100mm × 65mm safe zone, and test stitch every single file before you commit to production. The 20 minutes a test stitchout takes will save you hours of unpicking and re-running.
Frequently Asked Questions
What is hat embroidery digitizing and how does it differ from standard embroidery digitizing?
Hat embroidery digitizing is the process of converting artwork into a stitch file specifically optimised for embroidery on a curved cap surface. The core difference from standard flat garment digitizing is that every technical parameter — underlay, density, pull compensation, stitch direction, and element sequencing — must account for the convex curvature of the cap panel, the torque introduced by the cap frame, and the compression behaviour of structured cap fabrics like twill and buckram-backed panels. A flat-garment file won't survive that combination of forces. It's not a minor adjustment. It's a different discipline.
What stitch density should I use for cap embroidery?
For structured twill cap fabric, I typically use stitch spacing of 0.45mm to 0.5mm for satin columns — slightly more open than the 0.4mm I'd use on a flat woven polo. For fills, I keep density at the lower end of the scale and rely on underlay to provide coverage stability rather than pushing the top stitch count higher. On unstructured caps, go even lighter — 15–20% less dense than the equivalent structured cap setting. Over-dense stitching on cap fabric compresses the panel and puckers. You cannot fix that in post. Get the density right in the file.
How big should a hat embroidery design be?
The safe stitching zone for a standard adult structured cap is approximately 100mm wide by 65mm tall — roughly 4 inches by 2.5 inches. Beyond those boundaries, the cap panel curves away from the frame's stabilised zone and fabric distortion becomes very difficult to control. Some larger caps with wide front panels can take up to 110mm width, but I'd always confirm with a test stitchout rather than assume. If a client sends a logo that exceeds those dimensions, the right answer is to redesign the logo for the medium, not force an oversized file into a cap frame and hope.
Which file format should I use for hat embroidery?
It depends on your machine. DST is the universal standard for commercial Tajima, Barudan, and most multi-head machines — it's your safest bet if you're unsure. PES is the format for Brother machines. VP3 for Pfaff and Husqvarna Viking. JEF for Janome. EXP for older Melco machines. Always ask your digitizer for the native editable file alongside the machine format, so you can adjust if the test stitchout reveals a setting that needs changing. Never go into a hat production run with only one file format and no editable source.
Can I use auto-digitizing software for hat embroidery designs?
Technically yes. In practice, no. Auto-digitizing algorithms are built around flat-surface logic. They produce stitch paths that work reasonably well on flat garments for simple artwork — but on a curved cap surface, those same paths create registration errors, fanning column stitches, and underlay that doesn't account for curvature. I've tested auto-digitized hat files from multiple platforms available in 2026 and the results are consistently poor. Some designs just shouldn't be auto-digitized — and hat designs are at the top of that list. Digitize manually, use cap-specific underlay settings, and test stitch the result. There's no shortcut that's cheaper than one ruined cap.
OurDigitizer Editorial Team · Editorial Team
Written and reviewed by the OurDigitizer editorial team — embroidery digitizers with 12+ years of combined manual digitizing experience across DST, PES, and all major embroidery machine formats.