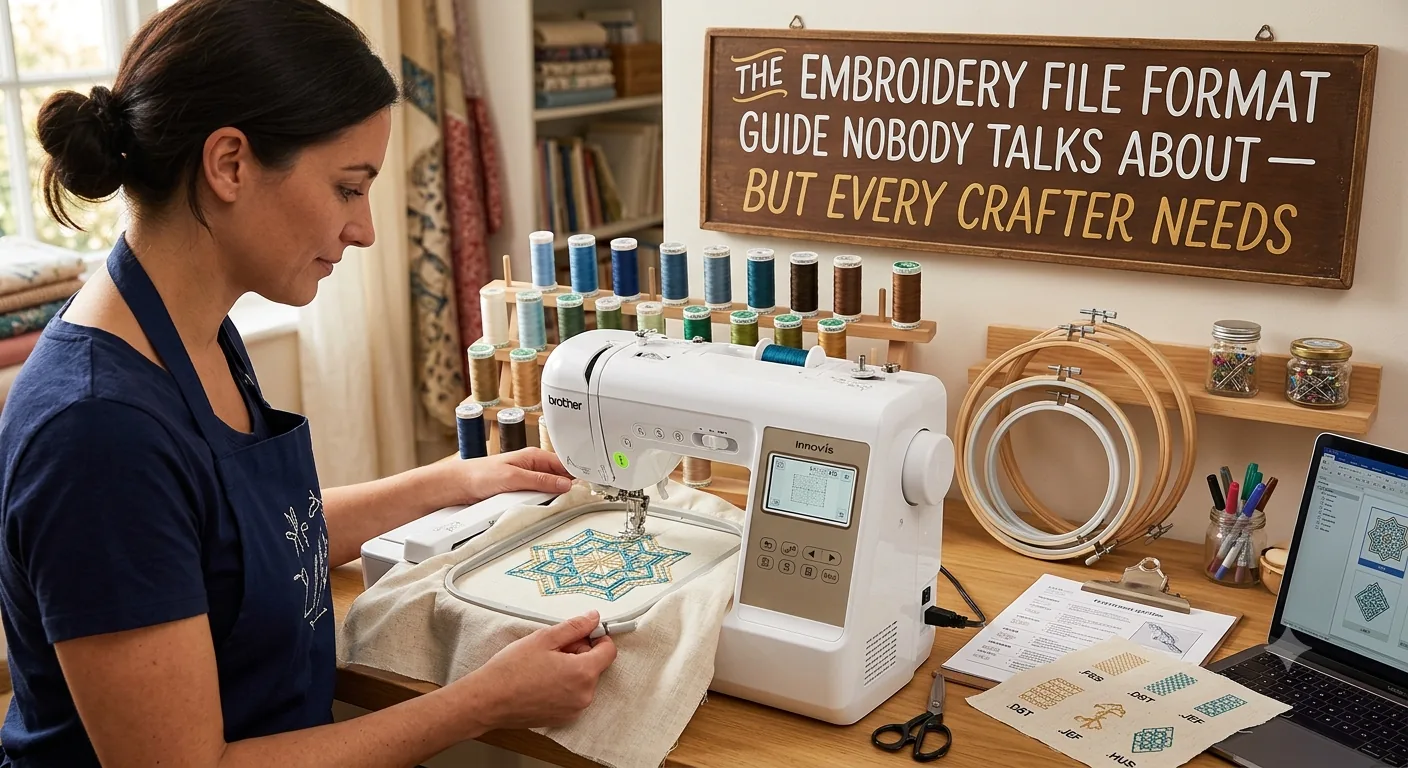
The Embroidery File Format Guide Nobody Talks About — But Every Crafter Needs
That's not an exaggeration. You've bought a design, loaded it onto your machine, and nothing happens — or worse, the machine throws an error and you're stood there at 9pm wondering why a file you paid for won't stitch. The answer, almost every single time, is format mismatch. Your machine speaks one language. The file you've got speaks another. And nobody told you this was even a thing you needed to worry about.
Here's the thing: embroidery file formats are the single most misunderstood technical topic in home machine embroidery. Crafters spend hours choosing stabiliser, matching thread, hooping perfectly — then download the wrong format and wonder why the whole project falls apart before a single needle strike. This guide fixes that. By the time you've finished reading, you'll know exactly what each major format does, which one your machine needs, and what to do when they don't match.
What an Embroidery File Actually Contains — and Why It's Not Just a Picture
Let me be blunt about something that trips up almost every beginner.
An SVG file, a PNG, a JPEG — none of these are embroidery files. Your machine cannot stitch them. Full stop. They're image files. Your embroidery machine isn't a printer; it's a precision mechanical device that needs to know exactly where to put each needle penetration, in what order, at what angle, and when to cut the thread. That's a fundamentally different kind of information.
An embroidery file is a coded set of machine instructions. Think of it like sheet music versus a photograph of sheet music. The photograph shows you what it looks like. The sheet music tells the musician exactly what to play, when, and how. An embroidery file tells your machine:
-
Where each individual stitch starts and ends
-
What type of stitch to use (satin, fill, running)
-
When to stop and change thread colour
-
Where to jump across without stitching
-
When to trim
A typical logo digitized at 75mm wide might contain somewhere between 6,000 and 12,000 individual stitch commands. Every single one is encoded in the file. Change the format incorrectly and some of those commands get dropped, reinterpreted, or corrupted entirely. Thread isn't ink — you can't just undo it and reprint. You're ripping stitches out of a £28 polo shirt.
Now, different machine manufacturers decided — for reasons that were originally about copy protection and proprietary advantage — to encode these instructions differently. Tajima built their format. Brother built theirs. Janome built theirs. None of them are inherently better. They're just different dialects of the same language. And that's where the compatibility nightmare begins.
Native vs. Universal Formats
A native format is designed specifically for one brand's machines and often carries additional data — thread brand mapping, machine-specific functions, design notes. A universal format strips things down to the core stitch data that any machine can read. DST is the closest thing the industry has to a universal format. It's not perfect — it drops colour names, for instance — but it's readable by almost everything, which is why commercial embroidery shops almost always request it.
The Major Embroidery File Formats, Broken Down Without the Jargon
Here's a practical breakdown. Not a spec sheet — a real-world guide.
DST — Tajima
The industry workhorse. DST has been around since the 1980s and it remains the closest thing embroidery has to a universal language. If you're sending a file to a commercial shop, they almost certainly want DST. It's compact, widely supported, and readable by virtually every professional embroidery machine on the market. The downside? DST doesn't store colour information the way you'd expect. It records colour stops (where the machine pauses for a thread change) but not which colour goes there. The operator assigns colours manually. For home use, DST can feel stripped-back. But for production? It's the standard.
PES — Brother / Babylock
If you've got a Brother or Babylock machine — and a huge proportion of home crafters do — PES is your format. It stores colour data, thread brand information, and stitch data cleanly. Brother machines typically use PES versions 1 through to version 10 and beyond; the version matters because older machines won't read newer PES versions. I've digitized enough Brother files to tell you: always check which PES version your specific machine supports before downloading designs. A PE800 and a Innov-ís NQ3700D are both Brother machines, but they may handle PES version compatibility differently.
JEF — Janome
Janome's native format. Clean, reliable, stores colour information well. If you own a Janome machine, you want JEF files. Some Janome machines also accept DST. Check your manual — it'll list the accepted formats explicitly.
HUS / VIP / VP3 — Husqvarna Viking and Pfaff
Husqvarna Viking machines have used a few formats over the years: HUS on older machines, VIP on mid-generation, and VP3 on more recent models. VP3 is the current standard and it's quite capable — it stores thread colour names, density information, and design notes. Pfaff machines often accept VP3 as well. If you've got an older Viking sitting in the craft room, check whether it reads HUS or VIP — not everything reads VP3.
EXP — Melco
Melco is a commercial brand. EXP is their format. You'll rarely encounter this in home crafting, but if you're working with a commercial operator running Melco machines, you'll need to know it exists. EXP files are fairly stripped-back, similar in spirit to DST.
XXX — Singer
Singer's proprietary format for their legacy embroidery machines. You'll see XXX files floating around older design libraries. Most modern software handles them, but they're increasingly rare in active production.
EMB — Wilcom
This is the professional standard for digitizers. EMB is Wilcom's native format and it stores everything — stitch data, underlay settings, density values, pull compensation, colour information, design notes. If you're working with a professional digitizer [LINK: professional embroidery digitizing services], ask for the EMB source file along with your machine-ready format. If they ever need to make edits, you'll want that source file. Without it, any changes mean re-digitizing from scratch.
What Actually Breaks When You Convert Between Embroidery File Formats
Conversion is where projects go wrong quietly.
You convert a PES file to DST and everything looks fine in the software preview. Then you stitch it out and the satin columns are pulling wildly and a section of fill has turned into a mess of random stitches. What happened? The conversion dropped data it couldn't translate.
Common Data Lost or Corrupted During Format Conversion
Colour mapping
DST doesn't carry colour names. Convert from PES to DST and your carefully mapped 12 thread colours become anonymous colour stops. The machine stops. You guess. You're wrong. You unpick.
Special stitch functions
Some formats carry machine-specific instructions — slow-down commands near dense areas, needle position settings, speed limits for certain stitch types. These rarely survive conversion cleanly.
Density and pull compensation data
This is the big one. In native formats like EMB, density and pull compensation are baked into the stitch generation logic. Convert to a stripped-down format and you're converting the output stitches, not the logic. What you get is a representation of how the design was meant to stitch — but without the intelligence behind it.
The golden rule of conversion: always convert from the original source file, never from a converted file. Converting a PES to DST is one generation of quality loss. Converting that DST back to JEF is two generations. By the third conversion you might as well be stitching out something generated by a free auto-digitizer at 2am. The file is the problem, not your machine.
Tools Worth Using for Conversion
-
Ink/Stitch (inkstitch.org) — free, open-source, runs as a Inkscape extension. Handles most common formats, good for basic conversions. It's not magic, but for simple designs it's solid.
-
Embrilliance Essentials — paid software (around $99 USD at time of writing in recent years) available at embrilliance.com. Excellent for home embroiderers, handles PES, JEF, VP3, DST, and more. The stitch simulator is genuinely useful for spotting conversion problems before you hoop anything.
-
Wilcom TrueSizer — free viewer and basic conversion tool from Wilcom, available at wilcom.com. Limited conversion options but excellent for checking file integrity.
After any conversion, zoom into the preview at 200% or higher. Look at satin column edges — they should be clean parallel lines, not jagged. Check fill areas for consistent stitch angle. And then: test stitch first. Always. On the actual fabric, with the actual stabiliser you'll use on the actual job. [LINK: embroidery stabiliser guide]
How to Choose the Right Embroidery File Format for Your Machine and Project
Decision paralysis is real with this stuff. Let me make it simple.
Step 1: Know your machine's native format
Pull out the manual — or look up your machine model and "supported file formats" online. Your machine will have a native format it reads best and possibly several others it accepts. That native format is your first choice, always.
| Machine Brand | Native / Primary Format | Also Accepts |
| Brother / Babylock | PES | DST, JEF (some models) |
| Janome | JEF | DST |
| Husqvarna Viking | VP3 | HUS, VIP (older models) |
| Pfaff | VP3 | Others vary |
| Singer | XXX | DST (varies by model) |
| Melco (commercial) | EXP | DST |
| Tajima (commercial) | DST | — |
| Bernina | EXP / ART | DST |
Step 2: Check what the design seller provides
Good design sellers list all available formats in the product description. If they offer PES and you have a Brother machine, you're done — download PES and stitch. If they only offer DST and you have a Janome, you'll need to convert to JEF. That's fine as long as the design is simple and you use proper conversion software.
Step 3: Decide if conversion is necessary and which tool suits
Simple designs — basic lettering, geometric fills, straightforward logos — convert reasonably well. Complex designs with fine detail, heavy 3D puff work, or intricate satin sections are riskier to convert. In my experience running production, anything with lettering under 6mm high that you've received in DST and need in another format should go back to the digitizer for a proper native-format file. The conversion will make small text worse. Every time.
Special Scenarios
-
Sending to a commercial shop? Always DST unless they specifically request otherwise.
-
Digitizing from scratch yourself? Choose your machine's native format as the output target and digitize directly for that format.
-
Buying from Etsy or design marketplaces [LINK: best embroidery design resources]? Check the format list before purchasing. Most reputable sellers offer 10-15 format options. If they only offer one, ask.
Save yourself the ripped-out stitches. Getting the format right before you hoop costs you nothing. Getting it wrong costs you stabiliser, thread, fabric, and an hour of your evening.
The Bottom Line on Embroidery File Formats
If you take nothing else from this guide, take this: format is infrastructure. Get it wrong and nothing else you do matters. Know your machine's native format — that's your anchor. When you need to convert, use proper software, convert from the original source file only, and always test stitch on scrap fabric before committing to a finished project. DST for commercial work. PES for Brother. JEF for Janome. VP3 for Viking. That framework covers 90% of situations most crafters will ever face. The other 10%? You now know enough to work it out.
Frequently Asked Questions
Can I use a PNG or SVG file directly in my embroidery machine?
No. Full stop. A PNG is a raster image — pixels on a grid. An SVG is a vector graphic — mathematical paths. Neither contains stitch data. Your embroidery machine cannot interpret either as sewing instructions. To use artwork in an embroidery machine, it must first be digitized — either by you using digitizing software, or by a professional digitizer, or by purchasing a pre-digitized design in a machine-ready format. Some software (like Ink/Stitch or SewArt) will attempt auto-digitizing from an image, but the results vary wildly depending on design complexity. Simple shapes? Passable. A detailed logo with thin lines and gradients? You'll spend longer fixing it than starting fresh. I've seen enough auto-digitized output to tell you: for anything you actually care about, use a properly digitized file.
Why won't my embroidery machine read a file that's supposedly the right format?
Three likely culprits. First, format version mismatch — PES version 10 on a machine that only reads up to PES version 6, for example. Second, the file was created on software that generated a non-standard variant of the format — some cheaper digitizing tools write technically valid but slightly malformed files that picky machines reject. Third, the file was corrupted during download or transfer — especially common when transferring via cheap USB sticks or across unreliable connections. Try re-downloading the file, transfer via a different method, and check the machine manual for which specific format versions it supports. If the file reads fine in conversion software but the machine still rejects it, the issue is almost certainly version compatibility.
What's the difference between DST and PES — and does it matter for quality?
They're structurally different. DST is a stripped-down commercial format — it stores stitch coordinates and colour stop positions, but that's roughly it. No thread colour names, no design notes, minimal metadata. PES is richer — it stores colour information, thread brand data, and design metadata alongside the stitch data. For quality at the point of stitching, what matters isn't which format you're using but whether the file was well-digitized in the first place and whether the conversion (if any) was handled cleanly. A beautifully digitized design in DST will outperform a poorly digitized PES every single time. Format affects compatibility and data preservation during conversion. It doesn't make bad digitizing good.
How many times can I convert an embroidery file before quality degrades?
Once, ideally. Twice if you have no other option and the design is simple. Beyond that, you're compounding errors. Each conversion from stitch data to stitch data loses some fidelity — stitches get slightly repositioned, small fills can degrade, satin column edges get rougher. The professional answer is always: go back to the source file and re-export in the target format. If you're buying designs online and need a format that wasn't provided, contact the seller or digitizer and ask for a fresh export. Most will accommodate you. If you're stuck converting a converted file, use the best software available (Wilcom TrueSizer or Embrilliance), zoom in carefully on the preview, and test stitch on scrap before the real run.
What format should I send to a commercial embroidery shop?
DST, unless they tell you otherwise. It's the industry standard across commercial embroidery — Tajima machines dominate production floors and DST is their native format. Before you send, ask the shop two things: what format they prefer, and what colour sequence information they need (since DST doesn't carry colour names, you'll want to provide a separate colour list with thread brand and colour number for each stop). If you're having a design professionally digitized for commercial production, ask your digitizer to provide both the DST for the shop and the source EMB or native file for your own records. You'll thank yourself the first time you need to resize or modify the design and don't have to pay for full re-digitizing.
OurDigitizer Editorial Team · Editorial Team
Written and reviewed by the OurDigitizer editorial team — embroidery digitizers with 12+ years of combined manual digitizing experience across DST, PES, and all major embroidery machine formats.